Modern applications often expose functionality through APIs. A .NET Web API is a popular choice because it is fast, secure, and easy to maintain. However, building the API is only half of the work. You also need a reliable way to host it so that users and applications can access it from anywhere.
Cloud platforms make this task much easier. One of the most widely used platforms for hosting .NET applications is Microsoft Azure. Azure provides a managed service called Azure App Service, which allows developers to deploy web applications and APIs without managing servers or infrastructure.
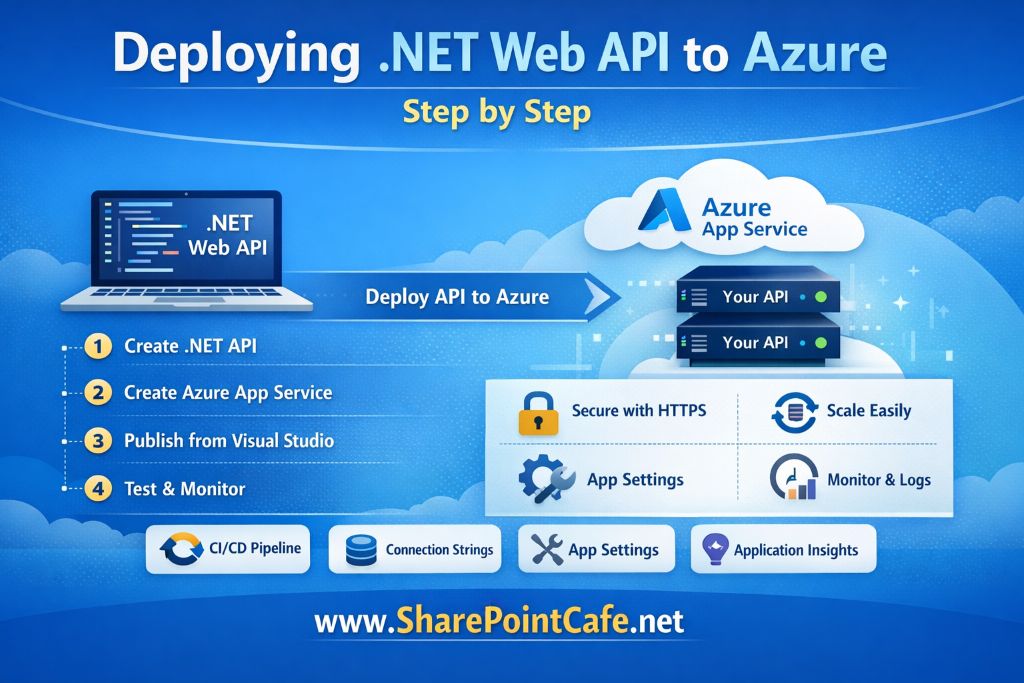
In this guide, you will learn how to deploy a .NET Web API to Azure step by step. The tutorial explains everything from prerequisites to deployment and monitoring so that even beginners can follow along.
Why Deploy .NET Web API to Azure?
Before starting the deployment process, it is important to understand why many developers prefer Azure.
1. Fully Managed Platform
Azure App Service manages the servers, operating system updates, and scaling automatically. You focus only on your application.
2. Easy Integration with .NET
Azure integrates smoothly with the ASP.NET Core ecosystem. Deployment from development tools like Visual Studio is straightforward.
3. Built-in Security
Azure provides built-in authentication, SSL certificates, and network security.
4. Scalability
If your API receives more traffic, Azure can automatically scale your application.
Prerequisites
Before deploying the API, make sure you have the following tools ready.
1. Azure Account
You need an Azure subscription. If you are new, you can create a free account on Azure.
2. .NET SDK Installed
Install the latest .NET SDK from the official website.
3. Visual Studio or Visual Studio Code
You can use either:
- Visual Studio (recommended for beginners)
- Visual Studio Code
4. Azure CLI (Optional)
The Azure Command Line Interface helps automate deployments.
Step 1: Create a .NET Web API Project
First, create a simple Web API project.
Open Visual Studio and follow these steps:
- Click Create a new project
- Select ASP.NET Core Web API
- Click Next
- Enter the project name
- Choose the latest .NET version
- Click Create
Visual Studio will generate a basic Web API project.
Run the project locally using:
https://localhost:5001/weatherforecastStep 2: Prepare the API for Deployment
Before deploying the application, ensure it runs correctly in production mode.
Enable HTTPS
Azure automatically supports HTTPS. Ensure your application does not block HTTPS requests.
Check Configuration
Make sure environment settings are properly configured in appsettings.json.
Example:
{
 "Logging": {
  "LogLevel": {
   "Default": "Information",
   "Microsoft.AspNetCore": "Warning"
  }
 }
}
Remove Debug Code
Remove unnecessary debugging statements before deployment.
Step 3: Create an Azure App Service
Now create the hosting environment in Azure.
- Open the Azure Portal
- Click Create a Resource
- Select Web App
- Configure the following settings
| Setting | Value |
|---|---|
| Subscription | Your Azure subscription |
| Resource Group | Create new or use existing |
| App Name | Unique name for your API |
| Runtime Stack | .NET |
| Region | Closest to your users |
Click Review + Create and then Create.
Azure will now provision your App Service.
Step 4: Publish the Web API from Visual Studio
Visual Studio provides a simple publishing feature.
Steps
- Right-click your project
- Click Publish
- Select Azure
- Choose Azure App Service
- Select the App Service you created
- Click Finish
Now click Publish.
Visual Studio will build the project and upload it to Azure.
Once the process completes, your API will be available at:
https://yourappname.azurewebsites.netStep 5: Test the Deployed API
Open your browser and test your API endpoint.
Example:
https://yourappname.azurewebsites.net/weatherforecastIf the JSON response appears, the deployment is successful.
You can also test APIs using tools like Postman.
Step 6: Configure Application Settings in Azure
Sometimes applications require environment variables or connection strings.
To configure them:
- Open Azure Portal
- Go to your App Service
- Select Configuration
- Add new settings
Example:
| Name | Value |
|---|---|
| ConnectionString | Database connection |
These settings are securely stored in Azure.
Step 7: Enable Logging and Monitoring
Monitoring helps you detect issues quickly.
Azure provides built-in monitoring through Azure Monitor.
Enable logging:
- Open App Service
- Select App Service Logs
- Turn on logging
Logs help diagnose errors in production.
Step 8: Enable Continuous Deployment (Optional)
Manual deployment works, but automated deployment is better.
You can connect your repository from:
- GitHub
- Azure DevOps
- Bitbucket
Every time you push code, Azure will automatically deploy your API.
This process is called CI/CD (Continuous Integration and Continuous Deployment).
Step 9: Secure Your API
Security is critical for production applications.
Enable HTTPS
Azure automatically provides HTTPS.
Use Authentication
You can enable authentication through Azure App Service.
Use API Keys or JWT Tokens
Protect endpoints using authentication mechanisms such as JWT tokens.
Step 10: Scale Your Application
If traffic increases, Azure allows scaling.
Two scaling options exist:
Vertical Scaling
Increase CPU or memory.
Horizontal Scaling
Add multiple instances of your application.
Azure can scale automatically based on traffic.
Common Deployment Errors
Application Failed to Start
Check logs in Azure portal.
Missing Dependencies
Ensure all NuGet packages are included.
Connection String Errors
Verify environment variables and database settings.
Best Practices for Production Deployment
Use Environment Configuration
Separate development and production configurations.
Enable Application Insights
This helps track performance and errors.
Use API Versioning
Version your APIs to avoid breaking existing clients.
Implement Logging
Good logging simplifies troubleshooting.
Real World Example
Suppose you build a customer management API for an e-commerce application.
The API handles:
- customer registration
- order history
- payment processing
By deploying the API to Azure App Service:
- the application becomes accessible globally
- the infrastructure scales automatically
- updates can be deployed quickly
This approach saves time and infrastructure costs.
Conclusion
Deploying a .NET Web API to Azure is a straightforward process once you understand the steps. Azure App Service removes the complexity of server management and allows developers to focus on building reliable APIs.
In this guide, you learned how to:
- create a .NET Web API
- deploy it using Azure App Service
- configure settings
- monitor application performance
- scale and secure your API
With these steps, you can confidently host production-ready APIs in the cloud and deliver reliable services to your users.


Leave a Reply